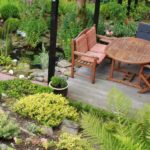
Welcome to your new or remodeled home, complete with a front yard ready for transformation. But first, what to do with all of that debris? We’ve got landscaping tips for how to do a remodel job on your newly constructed or remodeled home lawn so the exterior is as presentable as the interior.
Similar to DaVinci preparing his canvas, your first steps involve cleaning and repairing your yard. Usually, newly constructed or substantially renovated homes present their own landscaping challenges.
Beneath the surface, unseen obstacles like construction debris and poor soil quality may lurk, hindering plant growth. So you have your work cut out for you, oh landscaping Leonardo. Here’s what to do.
1. Sketch Your Landscape Plan
Start by thinking about what your final landscape should look like. This is your chance to redo what was there before (in the case of a remodeling) or start anew (with new home construction). You’re not obliged to stick with the starter plants or landscaping ideas that the contractor put in the ground or to plunk down more grass right where it was before.
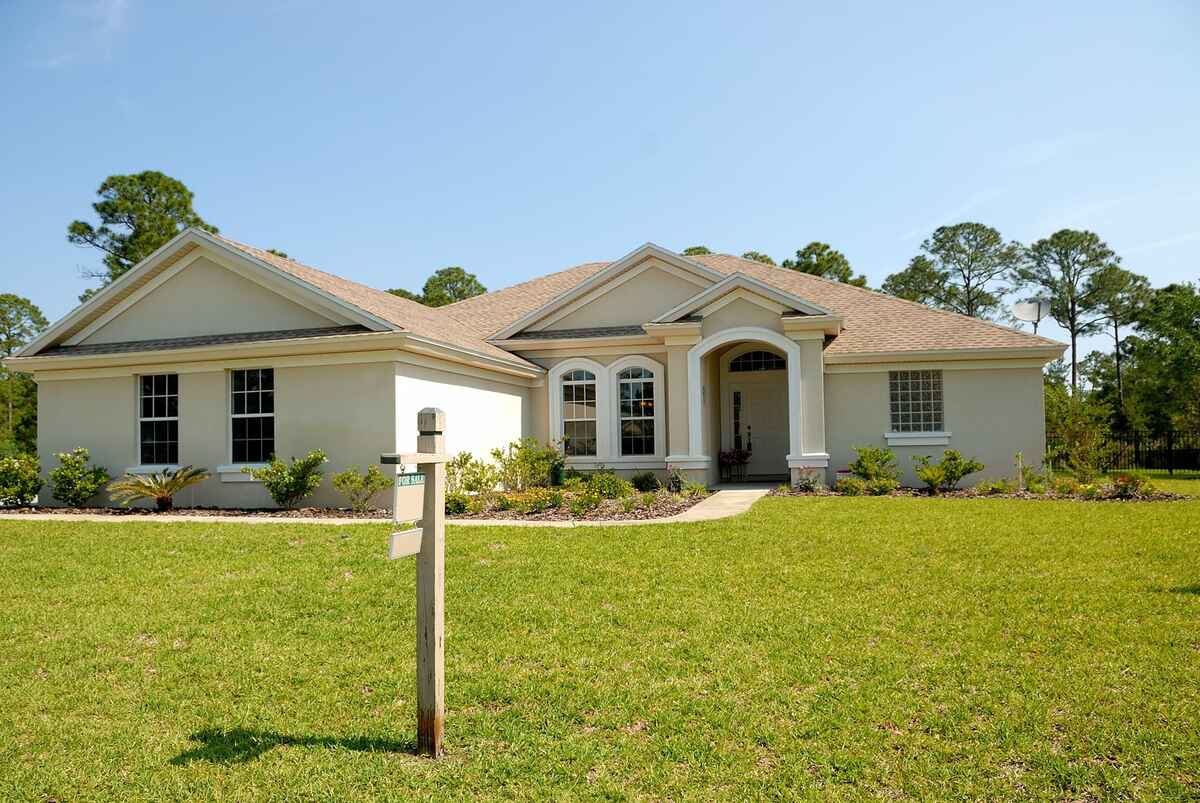
New House
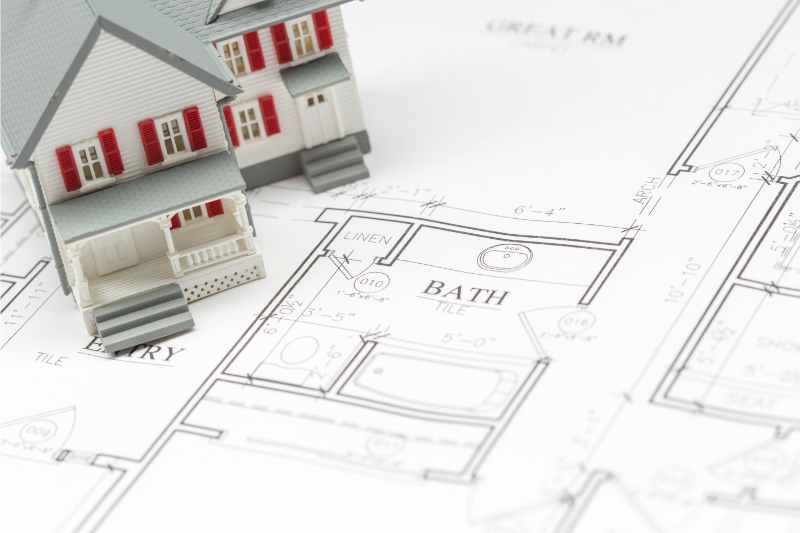
If you’ve just had your new house built, you’ll likely already have a set of plans from your home builder. These plans probably include architectural drawings and a site/plot plan with exact dimensions of the location of your new house on the property, property lines, utilities, etc.
Pro tip: Having this information to refer to can save you lots of time when developing your overall landscape plan.)
Remodeled Home
If you’ve just had your house remodeled or renovated, depending upon the extent of the renovations, you may or may not have architectural drawings or a site plan.
Note: If you don’t have any blueprints from the home builder, you’ll have to take measurements of your house (for foundation planting). This includes locating doors, windows, air conditioning units, and decks and measuring their respective heights from the ground. Knowing the distance from the ground will help you determine where to plant shrubs underneath them.
Here’s how to sketch your landscape plan:
- Rough out a plan for your house and lot. For your new home landscaping, you’re going to need to measure and sketch out your lot and your house (or use a landscape design app like iscapeit.com).
The materials you’ll need are a pencil (with a good eraser), paper, steel 50-foot measuring tape, and a clipboard (to hold your paper in place and a firm surface to draw on).
Your drawing can be crude as long as you understand your own measurements and squiggles. Those squiggles might even boost your home’s curb appeal.
- Indicate where the sun comes up and where it goes down. If you happen to have a sunny day at home and a camera, make a sun map. Take a series of pictures every hour during daylight hours so you can see how the sun and shadows cross your lawn. Inexpensive sun-tracking apps, such as SunSurveyor, can help.
- Include in your drawing any features such as hills, retaining walls, and the neighbor’s trees if they might affect your landscaping plan.
- Sit down with your plan and start playing with ideas, keeping in mind your ultimate goals. Is a pool or water feature a must-have? How about a play area for the kids? Are there low-sun areas where you’ll need to plant shade-tolerant plants?
You want to end up with a good notion of how you want everything to look years down the road after you plant trees and when the bushes have filled in. Landscaping design software and professional landscapers can further refine your new construction landscape ideas.
2. Get Down With Your Dirt
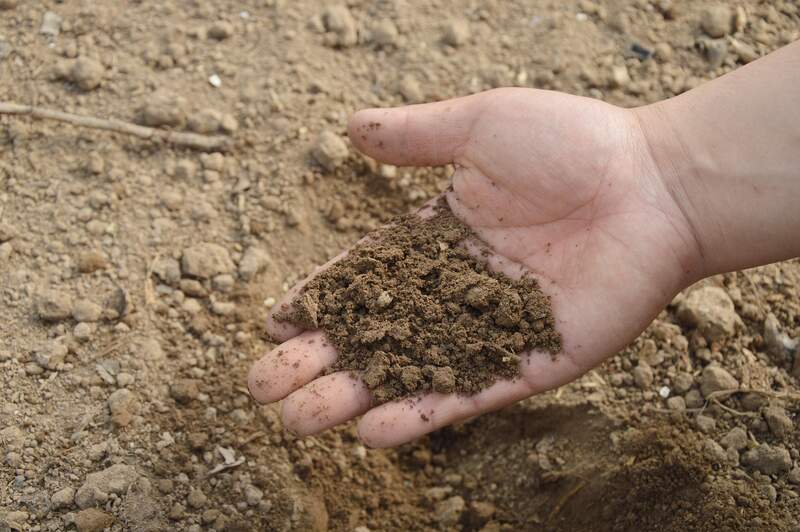
Next, consider your soil. That dirt may look ready for planting, but it’s probably not. Unfortunately, the soil around a new construction or newly renovated house often suffers from one or more of these three conditions:
- Poor soil quality. Contractors frequently bring in fill dirt to elevate new homes, fill in depressions, and provide a slope to get water to flow away from the house. The fill dirt can come from a variety of sources. It could include some topsoil, but more likely, it is mostly subsoil from the immediate area or trucked in from elsewhere.
The subsoil hasn’t been watered or worked over by microbes, worms, insects, organic material, and nutrients — your garden assistants, all of which are required for a soil structure plants can sink their roots into.
What to do about it: Improve the soil. In the case of remodeled homes, if you are lucky, the contractor may have scraped aside the existing topsoil and you have some good soil to layer back over your yard. If not, you will have to build your own topsoil. Get a soil test to find what nutrients you lack and adjust your soil amendments accordingly. - Construction debris. Fill dirt isn’t just poor-quality planting material because of what it lacks. It’s notorious for what it contains. Dig down into it to plant an azalea, and don’t be surprised if doink! Your spade hits a rock or a piece of construction debris.
What to do about it: Remove it as best you can as you prepare the soil. If you find a lot of it, expect an expense. While some municipalities will haul it away, many will not. - Compacted soil. Grass roots need a loose soil structure for their roots to grow and take hold. Heavy equipment and constant walking over the area compact the soil. In fact, having compacted soil is a plus for builders because they don’t want a building settling as they build it.
What to do about it: Any area where you will be planting grass requires tilling to loosen the soil before planting. If you have a layer of compacted subsoil and you’re adding topsoil to it, you’ll want to till deeply enough to blend the two. Otherwise, you’ll discourage your new lawn from setting down deep roots, which will weaken it.
3. Check Your Slope
Some contractors are more diligent than others about properly grading the lawn, and your own soil-amending activities may tilt things a bit, too. So if a recent rainstorm has shown you have an issue with the slope of your lot, now is the time to fix it.
You want to make sure your lawn is sloped enough to help water flow away from the house but not so steep you’ll have to landscape on a slope.
| Slope of Your Lawn — Optimum Range for Grading, Drainage | ||
|---|---|---|
| Too little slope and your lawn will puddle, not drain. Too much and soil may erode. | ||
| Minimum slope | 2 percent | 1 inch slope per 4 feet |
| Maximum slope | 10 percent | 1 foot slope per 10 feet |
| Source: American Society of Landscape Architects | ||
Professionals use grade stakes and a transit level to calculate a grade. A simple laser level may be sufficient for the individual homeowner to ballpark a slope.
4. Install Wiring and Power Cords
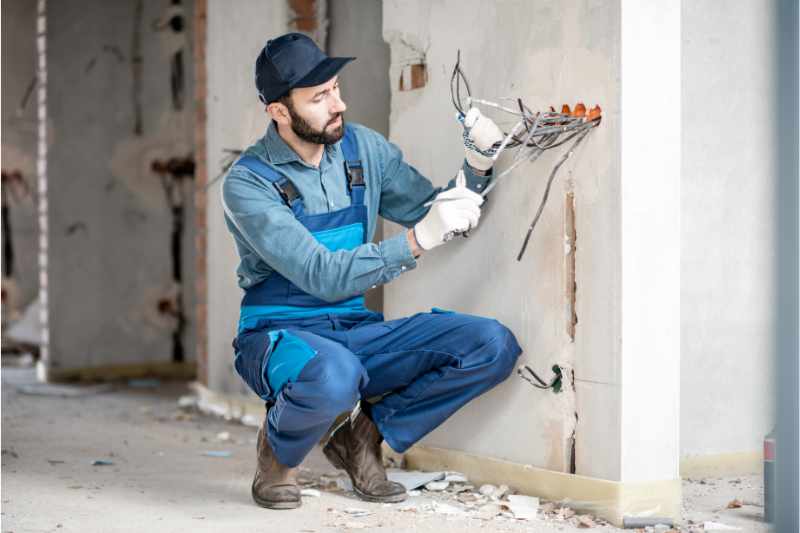
Place wiring or power outlets you plan to use. According to professional electrician Jordan Vellutini, it is best to cut out risk and use high-quality insulation to withstand time and nature. Sprinkler systems should also be installed before you plant grass seed. Getting sprinklers in the ground first saves you from disturbing the newly planted grass.
5. Pick the Right Grass, Plant at the Right Time
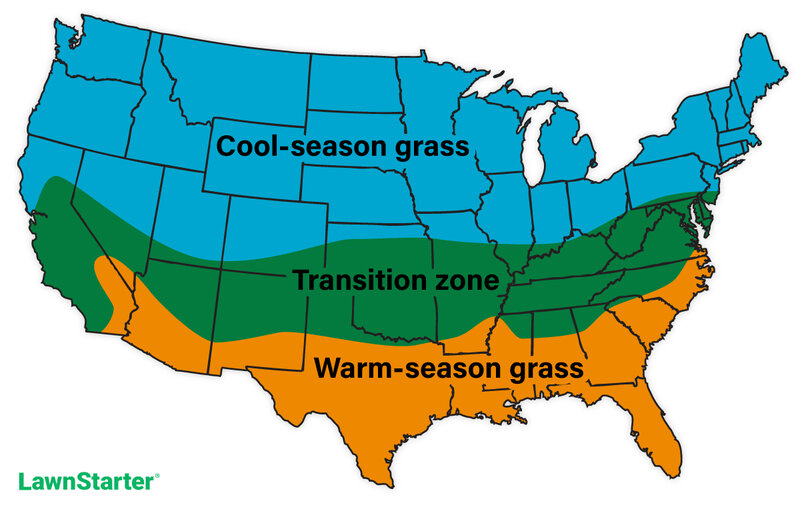
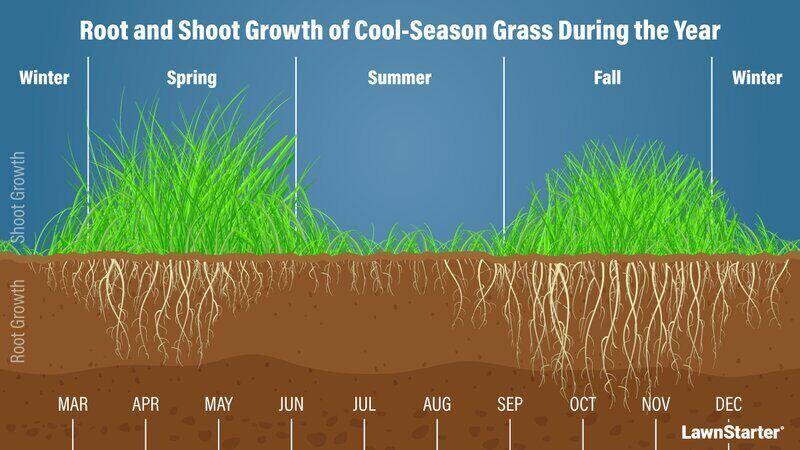
Pick the right grass: If the contractor slapped down some sod or did a quick grass-seeding and it’s not thriving, it may not be the best type for your lawn. For example, grasses that prefer a sunny location won’t do well in shade. However, if your cool-season grass goes dormant in summer, that’s normal. The same is true for warm-season grasses in winter.
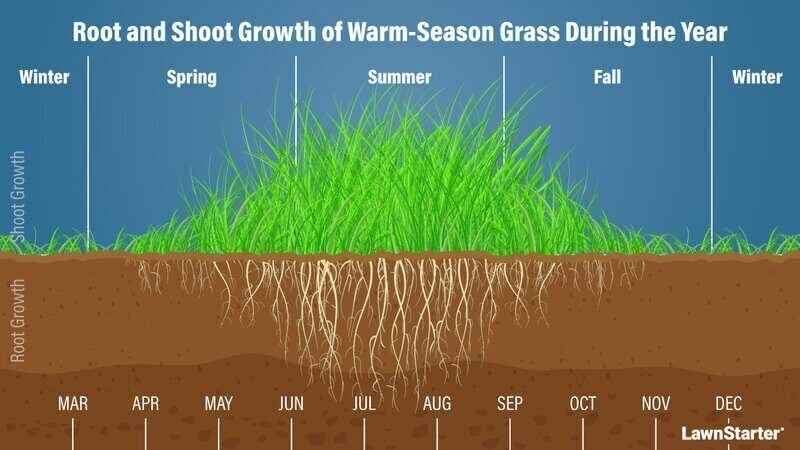
Plant at the right time: Both cool and warm-season grasses have their own growing seasons. Cool-season grass should be planted in early fall while the air temperatures are 60 to 75 F. Warm-season grasses should be planted in late spring and early summer while air temperatures are around 80 F.
A call or visit to your county’s Extension office should help you find someone with expertise to advise you on which grasses thrive in your area. Or you can check out LawnStarter’s many resources on choosing or growing grass:
- Growing Grass in the Transition Zone
- Guide to Growing Cool-Season Grasses
- Guide to Growing Warm-Season Grasses
- How to Grow Grass in the Shade
- Top 10 Drought-Tolerant Grasses for Your Yard
If the problem area is small, you can repair the problem areas with new sod or grass seed. However, if it looks like you need an entirely new lawn, it’s time to weigh whether to hire the pros to get the job done.
Note: Sod is the better choice over seed in most cases since you can plant almost any time of year, even during the winter. For seed planting, you have to make sure you’re planting at the ideal seeding times.
6. DIY or Call a Professional
Unless you are only repairing small sections of grass, prepping the area and planting the sod or grass seed is quite labor intensive. No question about it, you’ll be working up a sweat. However, you don’t have to be a professional to do the work properly, but you’ll need to rent (or borrow) a lot of specialized equipment.
On the other hand, hiring a professional landscaping company specializing in sodding or seeding new lawns means you’ll get the job done by experts. Although it will be costlier, you can sit back and watch.
Ask if their work includes prepping the area and adding any amendments in addition to installing the sod or grass seed. Another advantage of hiring a professional is you won’t have the costs of renting or transporting large equipment such as rollers and tillers.
7. Plant Grass in a New Construction Lawn
There are two popular ways to plant grass: seed and sod. We’ll give a brief overview of both.
The following is a basic outline of how to plant grass from seed. Most of the time, pros have equipment that makes this process look slightly different than when you, as a homeowner, seed the lawn, but the steps are the same.
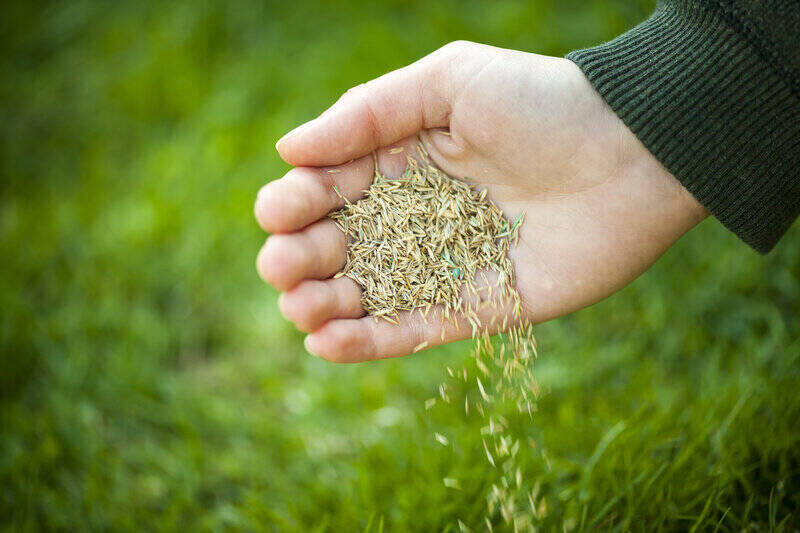
How to Grow Grass From Seed
- Get rid of builders’ debris, such as construction materials, packaging, and nails, as well as tree roots, rocks, or anything that might hinder lawn growth down the road.
- Till or aerate to prep the soil for the new seed.
- Scatter a layer of topsoil, if needed, throughout the area where your lawn will grow. Fill in holes or uneven areas.
- Use a starter fertilizer rich in phosphorus to help roots grow stronger. Starter fertilizer is often applied to grass at the time of planting. Look on the product label to see the ratio of nitrogen (N), phosphorus (P), and potassium (K) or N-P-K.
The N-P-K ratio on the starter fertilizer bag will vary by brand. The important thing is to apply no more than 1 pound of nitrogen per 1,000 square feet at one time.
For example, a starter fertilizer with an N-P-K ratio of 10-10-10 contains ten percent each of nitrogen, phosphorus, and potassium per pound. So, you’ll need to apply ten pounds per 1,000 square feet to get one pound each of N, P, and K on that 1,000 square feet of lawn. - Use a grading rake to ensure the fertilizer is well-distributed.
- Spread your seeds of choice.
- Water the grass seeds thoroughly twice a day so that the top layer of soil is moist. Let the soil settle before adding more water to allow time for the water to be absorbed.
How to Lay Sod
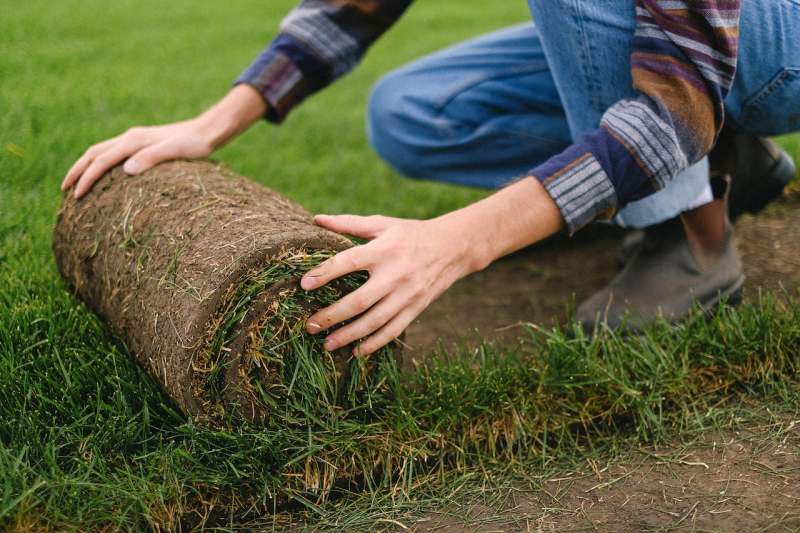
If you don’t have time to plant seed or the time of year isn’t ideal, sod is the way to go.
- Remove old grass from the yard. This includes removing chunks of lawn and weeds. You can use a herbicide, shovel, or sod cutter.
- Test and prepare the soil. Use a soil test kit to see what your soil lacks and adjust the soil’s pH level before laying down sod.
- Till the soil. When you’re done tilling the soil to break up the old lawn, use a rake to spread the topsoil. This helps to loosen dirt and level the soil.
- Purchase the sod, keeping it in a shady location until used. It is best to plant the day you buy it.
- Install the sod. Lay it down in narrow, straight strips, staggering the seams as you go. Make sure to go through and fill in any gaps.
- Water and fertilize. Water the sod immediately after planting. Expect to water frequently but lightly while the sod establishes. Once roots have established, apply a starter fertilizer.
- Mow when the grass reaches the desired height for that type of grass. Usually, this height is around 2.5-4 inches, depending on the grass type. The best time to mow is around 8 to 10 am.
For those with large lots: Homeowners with over an acre often turn to hydroseeding to plant grass across a large area. The cost to hydroseed your lawn ranges between 8 and 20 cents per square foot.
8. Care for Your Newly Planted Lawn

After planting your sod or grass seeds, stay off the area and allow the grass to establish itself. Keep the area moist but not soggy, until the grass grows in fully. Depending on the variety of grass you grow, you won’t have to mow until the grass reaches a height of 2.5 to 4 inches.
FAQ About Post-Construction Lawn Care
How Long Does Landscaping Take for a New House?
Setting a completion goal of five years gives you time to evaluate and execute your landscape plan in phases (and pay for it as you go). There’s no rush to try and get your entire outdoor landscape completed all at once. The landscape design process and installation take time.
Landscape times depend on a few key factors:
● The size of your outdoor space
● How much you’re putting into the design
● If you’re hardscaping
● Mulching
● If you’re adding perennials and annuals to your flower beds
● If you’re doing things yourself
● If you plan to hire a landscape contractor
Typically, doing new house landscaping yourself will take longer than professional work but is often cheaper.
How Do You Aerate a Lawn?
Aerating your lawn involves picking out either a manual, push-behind, or tow-behind aerator to create holes in your lawn and remove plugs of soil. You can do this in a few easy steps:
● Pick your tool.
● Call 811 before digging to notify utility workers.
● Water the soil. Apply one inch of water one to two days before aeration to soften the soil.
● Identify spots to avoid, such as sprinkler heads.
● Aerate in criss-cross patterns.
● Leave the plugs of soil on the ground.
● Add soil amendments such as fertilizer or compost. If you also need to overseed areas that have thinned out, this is a good time to do that.
Lawn aeration is useful after construction work because it creates holes in the soil that allow water, air, and other nutrients to penetrate deeper into the soil. Typically, this is used on lawns that already have grass, but if you have areas on your lawn that were damaged by heavy machinery or vehicles, aeration can help alleviate this compaction.
How Do You Fix Yard Ruts After Construction?
Ruts left in your yard from construction are never fun, but they are fixable.
● First, allow the soil to dry if needed.
● You’ll want to break out the tiller or shovel and get to work on that compacted soil. For larger areas, aeration is recommended, as using a shovel, especially on compacted soil, will be labor-intensive.
● Turn over the top six inches or so (if you’re using a shovel) before filling in with new topsoil.
● Water the soil so that it settles.
● Add extra soil as needed to even things out. Consider elevating the topsoil slightly.
● Apply new grass seed or sod, water, and your lawn should be back to normal within a season.
Leave Landscaping for the Professionals
Landscaping after building a house or starting a renovation project can be a big task. By planning, preparing the site before planting, and giving the area proper after-care, it shouldn’t be long before you have a landscaping masterpiece.
Way to go, Leonardo.
If you’re noticing that the workload might be too much for you to handle, don’t throw in the towel. Pick up the phone and call a local landscaping professional to help you finish this new construction masterpiece you’ve already worked so hard on.
Main Image Credit: Pxhere